online retailer ,bulk & wholesale and ODM/OEM e-shop of Electronic Products")
")
")
")
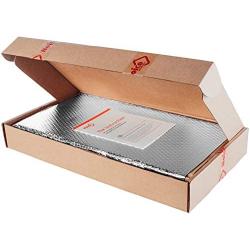
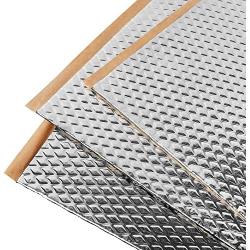
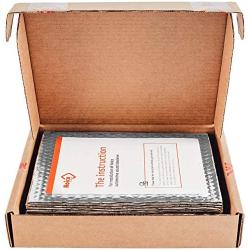
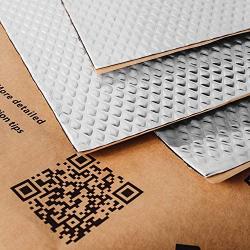
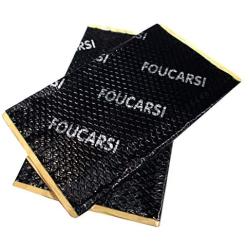
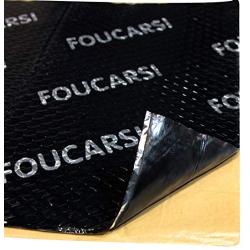
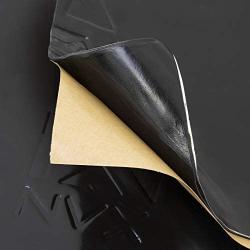
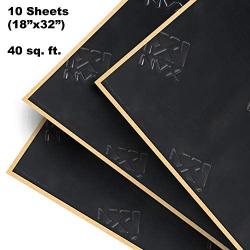
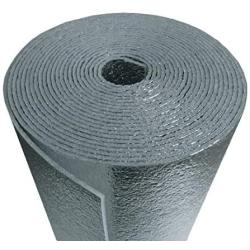
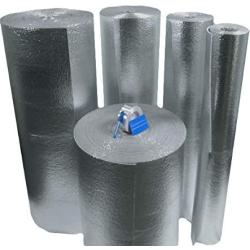
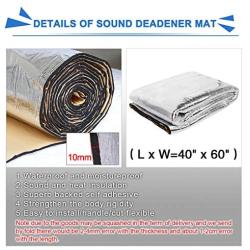
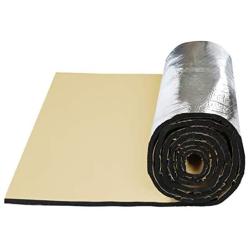
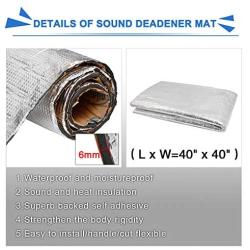
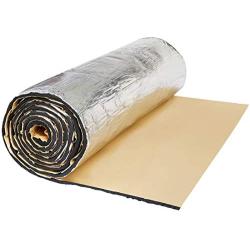
GRNERIC 80 mil 36 sqft Car Sound Deadening Mat, Waterproof Auto Foil Installation, Sound Dampening Insulator, Butyl Automotive Sound Deadener, Audio Noise Insulation and dampening (Silver)
Availability: In Stock
Description
HOW TO INSTALL
Please carefully read a service instruction up to the end. It is important to familiarize oneself with all the details as efficiency of soundproofing doesn't just depend on material you use but mainly is a result of correct installation. Please note that incorrect installation might lead to undesirable results or no effect at all.
STEP 1
Decide what part of a car you want to insulate in first place: floor, roof, doors, trunk or firewall. Treatment of each metal part of car has its unique contribution to overall effect. With that being said, we recommend to soundproof all metal parts for maximum performance. Next, find a service manual to your particular vehicle and locate a part that explains as to how to dismantle the trimming panels. You'd have to be carefull when taking them off and avoid breaking the fixing clips. That sort of information could be also found on a relevant automotive forums.
STEP2
Remove the remains of factory insulation once trimming is dismantled. You only need to do that if the factory insulation is damaged or not properly fixed. You can leave it there if it's still in a good shape. Next step is to properly clean, dry and degrease the prospective surface. Sound deadening won't adhere properly and may not last long if applied to wet or dirty surface. Use a degreaser and dry, clean rag for this purpose. We also recommend wearing gloves and to air a room from time to time during the work. * Pre-try a degreaser on a small spot before using that on plastic or painted parts.
STEP3
Once step 2 is complete, measure the prospective surface that you are going to treat. Quick tip is to first make a template of appropriate size on a paper and then transfer it to deadening mat. That will help to place it accurately and avoid wasting a material. Use a stationary knife or construction scissors to cut a desired shape and size. Be careful and use gloves for your hands protection.
STEP4
Next, place
Related Products